


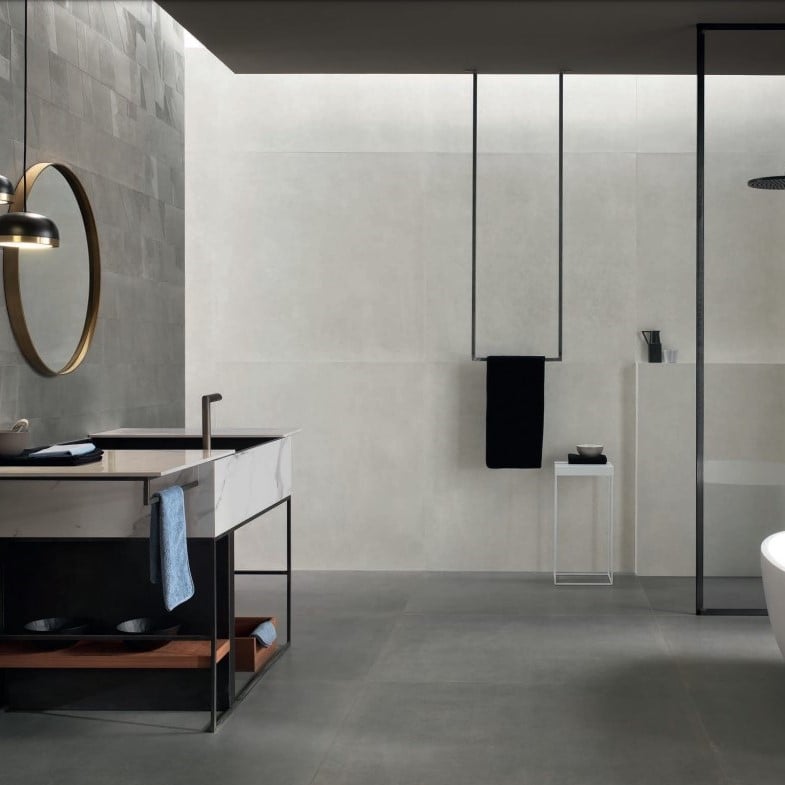
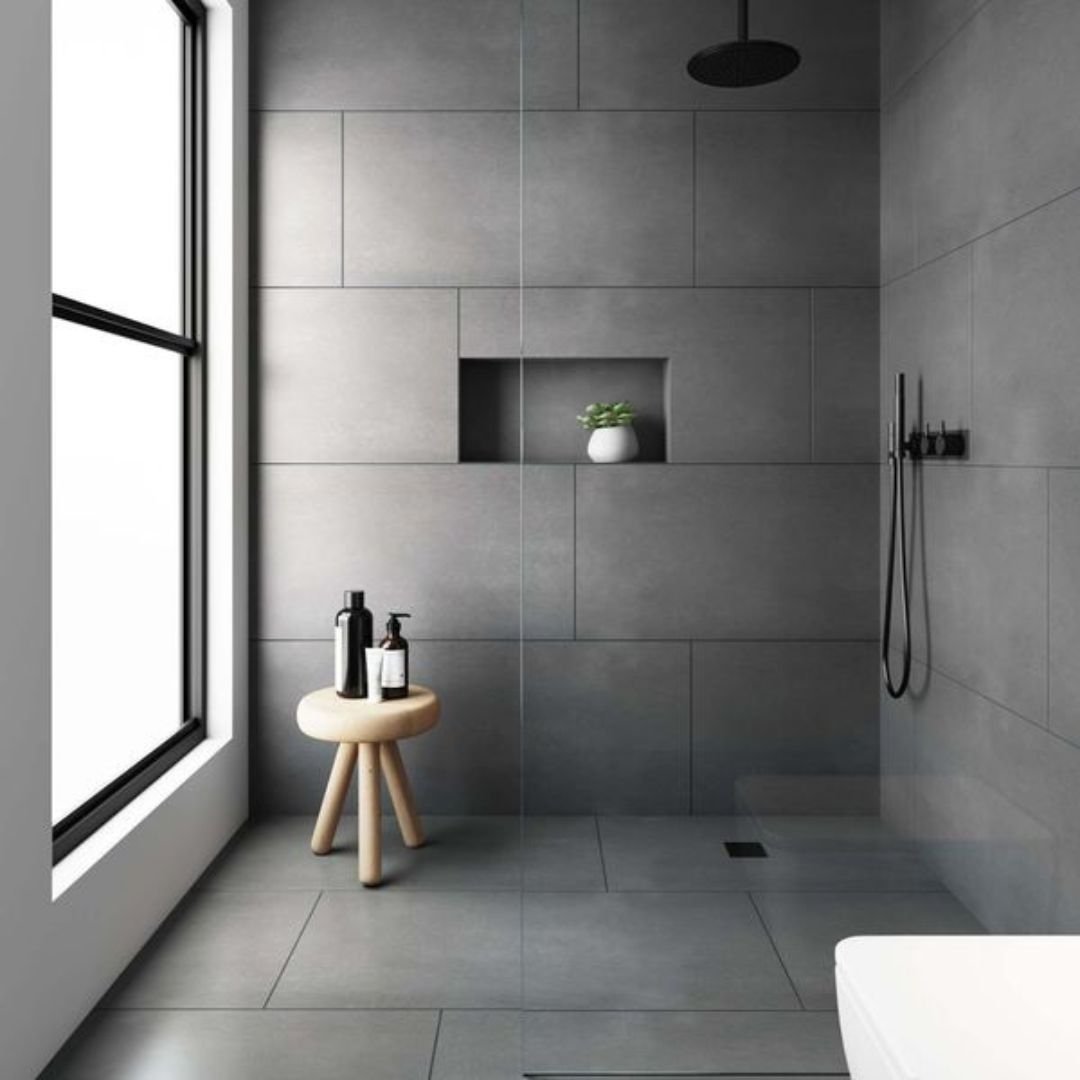

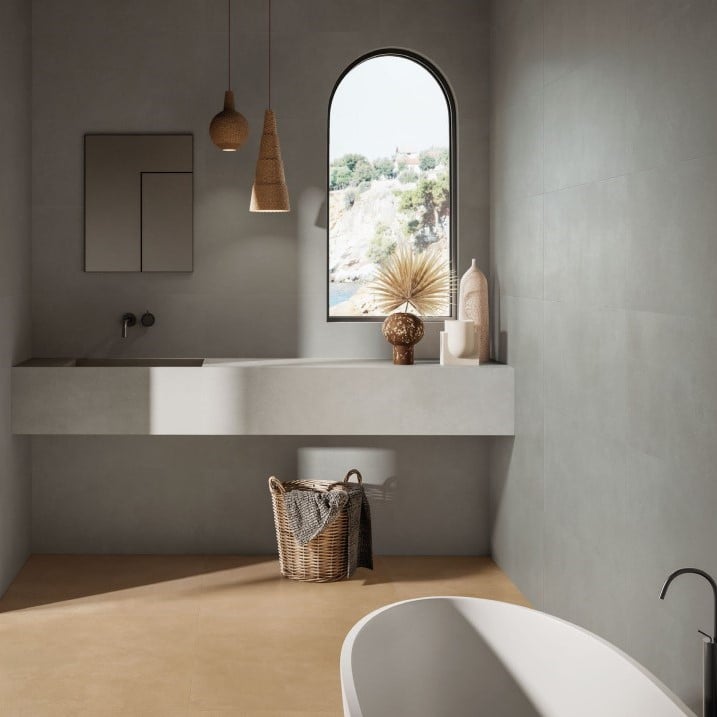


You’ve decided that you want to renovate your bathroom, but what next? An important first step is to carefully take correct measurements so you can start designing the bathroom you’ve been dreaming of. This is not as complicated as it may sound, but we have put together some useful tips and steps you can follow to accurately measure up your space.

Step 1: Grab a tape measure, a pen or pencil, and a piece of paper
You can measure up your bathroom by yourself, but if you have someone who can help you, even better. It should take no longer than 10-15 minutes, depending on the size of the room.
Step 2: Sketch the room shape and layout from a birds eye view on the piece of paper
Make sure you include the door, window, and any walls within the bathroom. You can also include a sketch of the items that are currently in your bathroom such as the WC, basin, shower and/or bath. When designing your bathroom, it is important to understand where your soil pipe is located, so it is advised to make note of this on your sketch too.
Tip: Label each wall with a letter of the alphabet and next to each wall, write the name of the adjacent room (if there is one). This will avoid confusion during the measuring process and may be helpful further down the line when designing your bathroom.
Step 3: Pick a starting point in one corner of the room and take the measurement from one wall to the other
Make note of the wall measurement on the sketch you’ve just created, and repeat this for the rest of the walls. You can use cm, mm, feet or inches. The most commonly used metric is mm.
Step 4: Measure the door and any windows in the room
It is important to make note of the width as well as the height for both the door and window(s). Another key measurement to make note of is the height from the floor to the window sill. You also want to make sure you write down the position of the door and window(s). You can do this by taking the measurement from the wall to the door or window on both sides and making note of this on your sketch.
Tip: If you feel the sketch would become too messy or difficult to read with the door and window measurements included, you can create a table next to your sketch instead.
| Floor to Window Sill | Height | Width | |
|---|---|---|---|
|
Door |
X |
___ mm |
___ mm |
|
Window #1 |
___ mm |
___ mm |
___ mm |
|
Window #2 |
___ mm |
___ mm |
___ mm |
Step 5: Measure the ceiling height
Take the measurement from the floor to the ceiling against (one of) the walls. In some older properties the ceiling height can vary a little, so you may want to measure this in a few different areas of the bathroom. If you have a sloping ceiling, make sure you write down how far into the room the slope starts and ends.
Step 6: Check your measurements
Ensure that the measurements on your sketch add up and that you’ve used the same metric throughout. If you want to be extra sure you can repeat steps 3-5 to confirm the numbers.
Step 7: Take photos of the space
The final step is optional, but can be very useful. Taking a few photos of the room can help guide you in the design process and will give the designer a better understanding of the room.
And that’s it, you’re done!
To make this process even simpler, we have created a downloadable sketch that you can use to fill in your measurements. Download your copy here or fill out this form to request a design appointment and we’ll send you a copy.
Alternatively, you can download our Plan2Design VR Bathrooms app and use the Planner tool to send your bathroom measurements directly to our design team who will contact you to confirm an appointment.
Here is a guide to take you through that process:
You must be logged in to post a comment.
click here to log in